If you've ever had an injury, especially involving an arm or leg, you may have had a splint. Even as summer draws to a close, you can still engage in various outdoor activities such as hiking, biking and sports. Increased participation in such activities can put you at risk for injuries like sprains, strains and even fractures.
Whether you’re gearing up for a grand adventure, or simply wish to have the skills to help if needed, you should be familiar with basic first aid and how to apply a splint as part of your preparations.
A Close Look At A Splint
The main purpose of a splint is to prevent an injured body part from moving while also protecting it from further damage. A splint may serve as an initial intervention in stabilising a fractured bone while a person is going to a healthcare facility. In some circumstances, it might be a suitable management option for a severe limb sprain or strain.
When used properly, a splint can help to alleviate pain from an injury by immobilising the affected limb. Advances in emergency care have resulted in highly efficient splinting innovations. If you want to learn about a particular type of splint, such as a Sam splint, you should check it out .
Creating A Temporary Or Makeshift Splint
When someone gets hurt and needs a splint, you can make one out of virtually any materials you have on hand.
When you need to prepare a temporary or makeshift splint, you can use tree branches, cardboard, foam, rolled newspaper, wood planks or padded boards. If you're going to make one, make sure it's long enough to cover the area outside the wounded body part on both ends.
The splint should also be broad enough to support the affected limb adequately. When properly applied, your makeshift splint can provide enough support to keep the limb immobilised and reduce the risk of further damage.
The Fundamentals
When your materials are ready, you must apply a splint by following these steps.
- If there’s bleeding, apply direct pressure to the wound to stop it.
- Wrap the wound with a piece of fabric, gauze or a bandage. Try to avoid moving the body part that requires splinting. Avoid attempting to reposition the limb or bone, as this may result in additional damage.
- Position your makeshift splint, making sure it rests on the joint above and below the injury. If splinting the forearm, place the stable support below the forearm and secure it to the arm under the wrist and above the elbow. Avoid strapping ties directly over the injured area. Secure the splint properly to immobilise the body part, but not so tightly that normal circulation is disrupted.
- After applying the splint, you need to monitor the adjacent areas every few minutes for signs of poor blood circulation. If the extremities become pale, bluish, or swollen, loosen the splint's ties.
- After immobilising the body part with the splint, call the local emergency services or bring the person to the nearest healthcare facility for further treatment.
Unless the person with an injury is in a dangerous scenario, such as in the middle of the road, splinting is crucial before moving the person to minimise the chances of causing further injury.
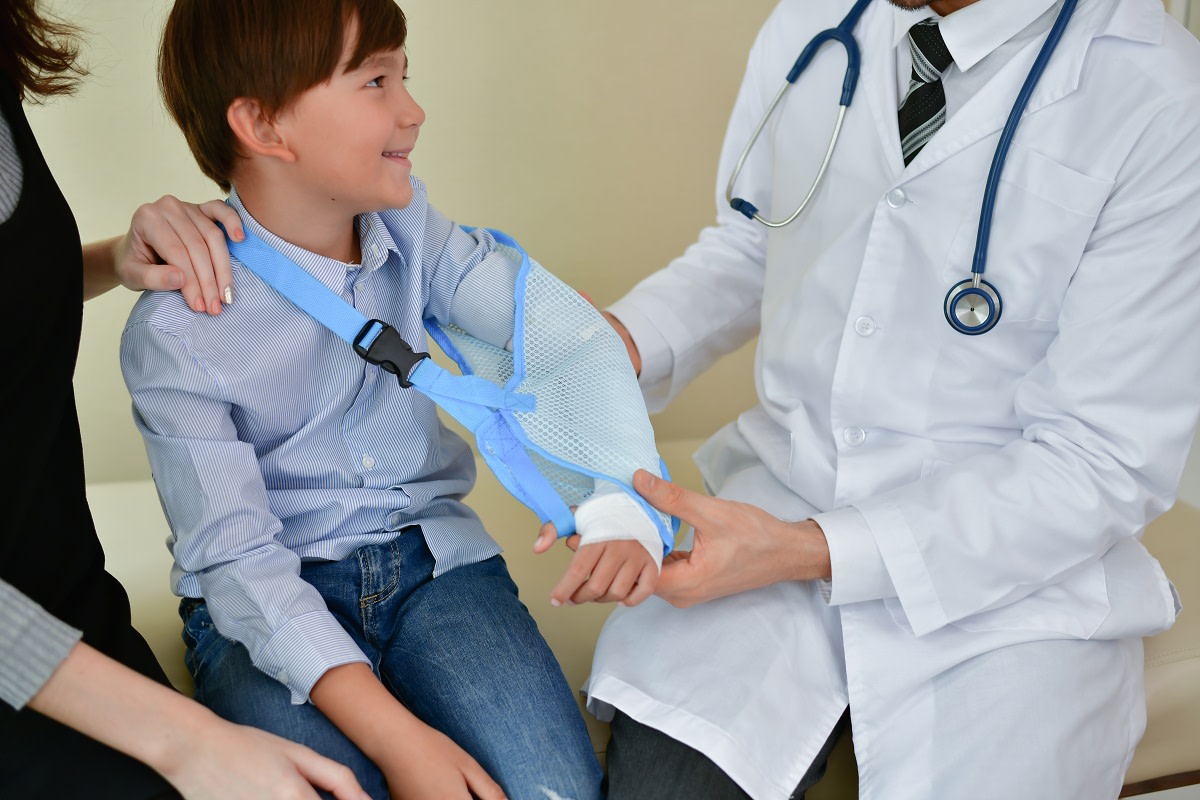
Pointers On Splinting The Upper Extremity
- You can use bandages to create a sling to immobilise the shoulder, collarbone, and upper arms. Wrap the sling around the person's chest with a large bandage.
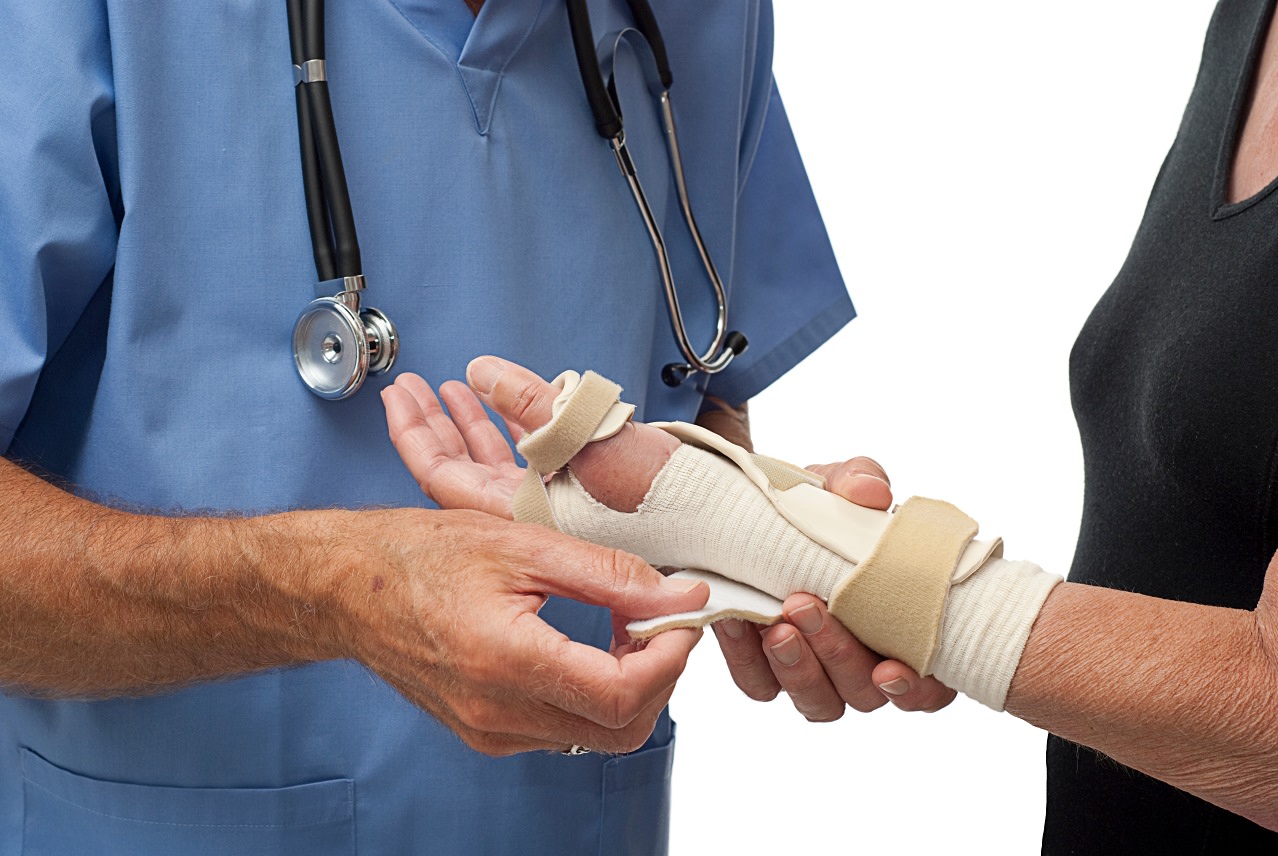
- A straight splint for the wrist or forearm is required to immobilise and align both sides of the injured part.
- If you have an injured finger, you can use a small piece of wood or cardboard as a splint or buddy-tape it to the adjacent finger.
Pointers On Splinting The Lower Extremity
- Fractures of the femur, hip and pelvis can render a person immobile. Due to the life-threatening nature of pelvis and upper leg fractures, timely evacuation of the person is important unless splinting and transport are necessary. In this case, the splint should cover the affected side's lower back and past the knee.
- Injuries to the knee will require splinting that extends to the hip and down the ankle. Generally, you need to apply a splint to the back of the leg and buttock.
- Injuries to the foot and ankle might require wrapping. You can apply a figure-of-eight pattern or splinting support along the rear and sides of the ankle to limit movement. Ensure the affected foot is at the correct angle in the splint to immobilise the ankle.
- If you have a toe injury, buddy-tape it to the toe next to it until assessed by a doctor.
Whether you have an ankle or toe injury , acting quickly is critical to preventing further damage.
What Are The Critical Points To Remember When Applying A Splint?
When applying a splint to immobilise an injured limb, you need to keep in mind the following:
- Ascertain that the splint places the limb in the most natural alignment possible.
- The splint should extend in both directions beyond the injury site. It helps keep the joints above and below the injury immobilised and prevents further damage.
- Apply broad bandages above and below the injury site to immobilise the joint and prevent further harm.
- Examine the circulation in the injured limb as well as other parts of the body on a regular basis.
- To reduce discomfort and prevent further damage, try to apply padding to the splint.
Considering these guidelines when applying a splint, whether for a knee sprain or possible finger fracture , ensures the damage is minimised as much as possible.
If you love to engage in outdoor activities, it's crucial to be ready if an injury happens. Even if you take extra precautions to steer clear of injuries, accidents can happen, such as sprains, strains or fractures. By understanding what a splint is and how to make and apply one, you can assist someone in reducing discomfort and the risk of further injury.
Of course, a splint is only a temporary measure and you should seek the attention of a trained medical practitioner as soon as possible by calling 000 or taking the injured person to the nearest doctor or hospital, depending on the severity of injury.
If it’s not an emergency, the fastest and easiest way to search for and book healthcare appointments online is with MyHealth1st.