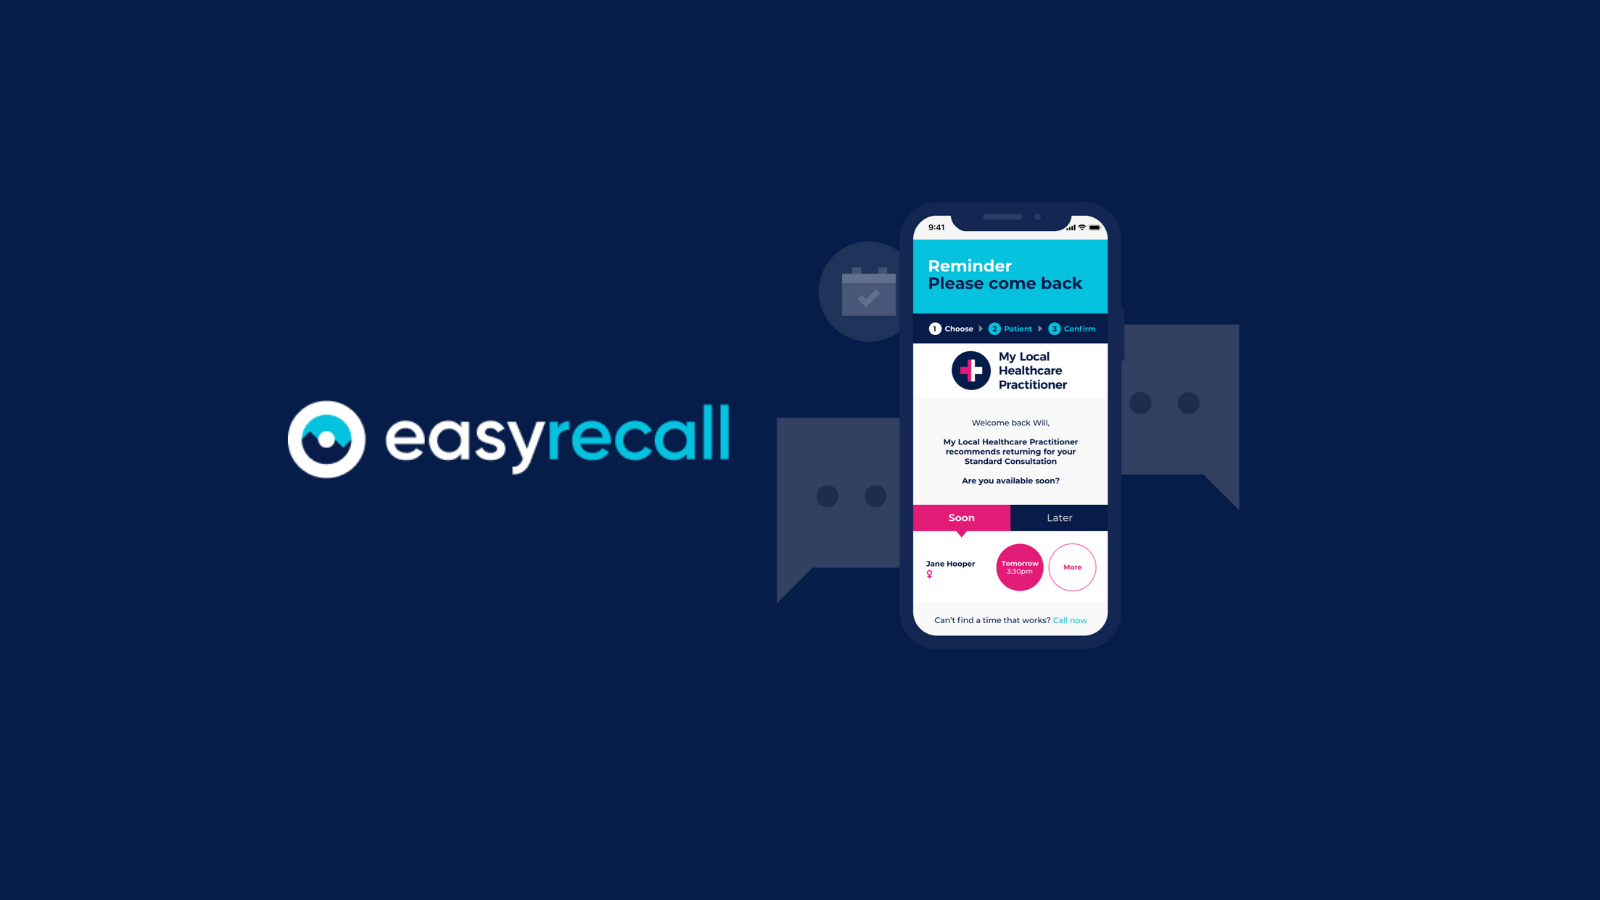
EasyRecall delivers a personalised recall and unique Online Booking experience to patients. EasyRecall provides a smart and easy way to welcome the patient back, inform them of the reason for the recall, and present them with a URL link that will lead them to all available appointment times, making booking their appointment a breeze.
How to Create an EasyRecall Campaign
To create a recall campaign, log into your MyHealth1st admin page and select EasyRecall. Once in EasyRecall, select Create Campaign.
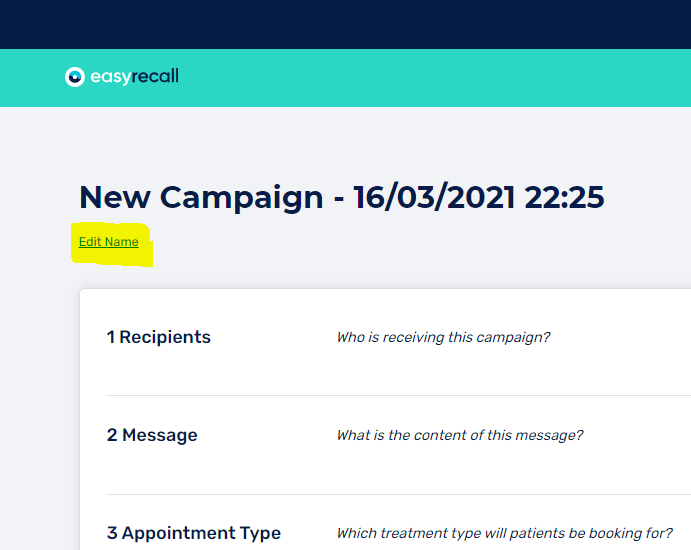
Once this has been selected, you will need to Edit the campaign name by selecting Edit Name in the top left of the screen.
Adding recipients to the recall campaign
There are two ways to add recipients to a campaign. Select Practice Management Systems allow for Auto Retrieval. If Auto Retrieval is not available in your PMS, you can use a simple CSV upload.
Auto Retrieval
Auto Retrieval is available to practices using the following Practice Management systems:
- Best Practice Lava
- Optomate Premier
- Optomate Touch
- Sunix
If a practice wishes to use Auto Retrieval from their Practice Management System they must first select a date range. This date range is limited to 30 days.
Once the date range has been selected, the next step is to select the relevant patient list. Once the list has been chosen, select “add”.
The “Optional additional filters” option allows you to filter patients by age, location, sex and the like. Once all filters are in place, select Retrieve Patients Lists. This will bring up a list of all the patients you wish to send a recall to.

CSV Upload
If a practice wishes to upload a CSV, this can be easily done be selecting the type of patient list you wish to use, whether it’s a Practice Management System format (This has been configured so that we can read the practices database upload, meaning no columns need to be updated from the Practices Practice Management System), or a more generic comma separated value document.
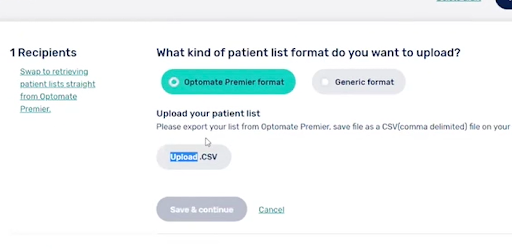
For a generic format, the list needs to be set up with the following columns -
Name, Surname, Mobile, Date of Birth, Email.

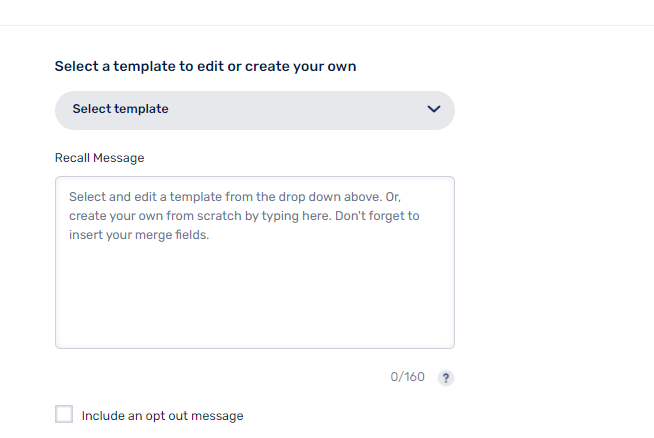
There are a number of set templates your practice may choose to use, but you also have the option to create their own templates, for use across campaigns.
Placeholders are provided if a practice chooses to create their own templates. Any templates a practice creates can be saved for future campaigns.
Pre-selecting appointment type
All recalls require a pre-selected appointment type to be included so recalled patients can book their appointment through the recall message. This ensures booking a recall appointment is as straightforward as possible. It also ensures patients book the correct appointment type so the appointment and duration are properly entered into your PMS.
Adding a follow up message
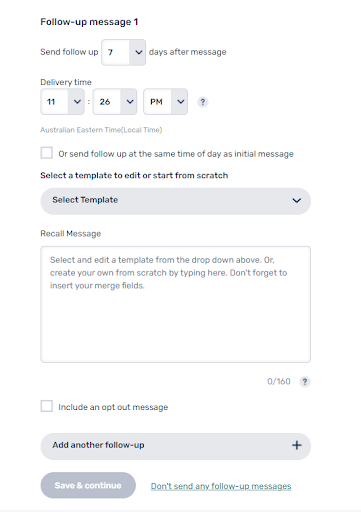
To create a follow up message, the practice must select the number of days after the first message the follow up is to be delivered. The time that the recall is delivered must also be chosen.
Once timing for the followup has been chosen, the practice can then add a message. The method for adding this message is the same as the first, with a number of existing templates available for use if a practice does not wish to create their own.
Patients that have made an appointment using the link in the initial recall, or have called the practice using the EasyRecall Tracking number unique to the practice will be excluded from the followup.
If you do not wish to send any follow up messages, then simply select “Don’t send any follow-up messages”.
At any point during the process, the practice has the option to go back and edit any previous steps within the campaign.
Set send date
The last step in the EasyRecall process is to set a send date. EasyRecalls may be sent straight away or scheduled to be sent at a future time and date.
Once the date and time has been selected, the campaign is ready to be sent! :)